Mishti Doi/Bengali Sweet Yogurt

3

Bengalis are known as the sweetened lot.People who speak a sweet language called ”Bangla” ,people who can act sweet(read ‘nyaka’ or overtly coy)if they wish to and people who love their sweets to death.Well to tell you the truth these rendezvous of Bengalis with sweetness, as a youngster living in Kolkata(nee’ Calcutta) always made me feel  sweets are overrated virtues of Bengali cuisine.Any non-bengali I have met from outside Kolkata have started or ended their conversation with me as ”Do you like roshogolla ,mishti doi?” or ”Oh! I love mishti doi” .Come on there’s so much more in Bengali cuisine than just sticking with this eerie affinity for mishti(sweets) .But as they say as you grow up(read grow old) your mind tends to be less rebellious and more grounded to reality.Staying outside Kolkata have now knocked some senses in me that cliches are cliches for a reason.Nothing can beat Mishti doi in popularity.It is the Amitabh Bachchan of Bengali cuisine.The ultimate showstopper.Time tested,survived all the competitions and travelled across the country as the brand ambassador of Bengali cuisine,you have no other choice than to love this sweetened yogurt,very typical of Bengal and some other regions of eastern India.

4

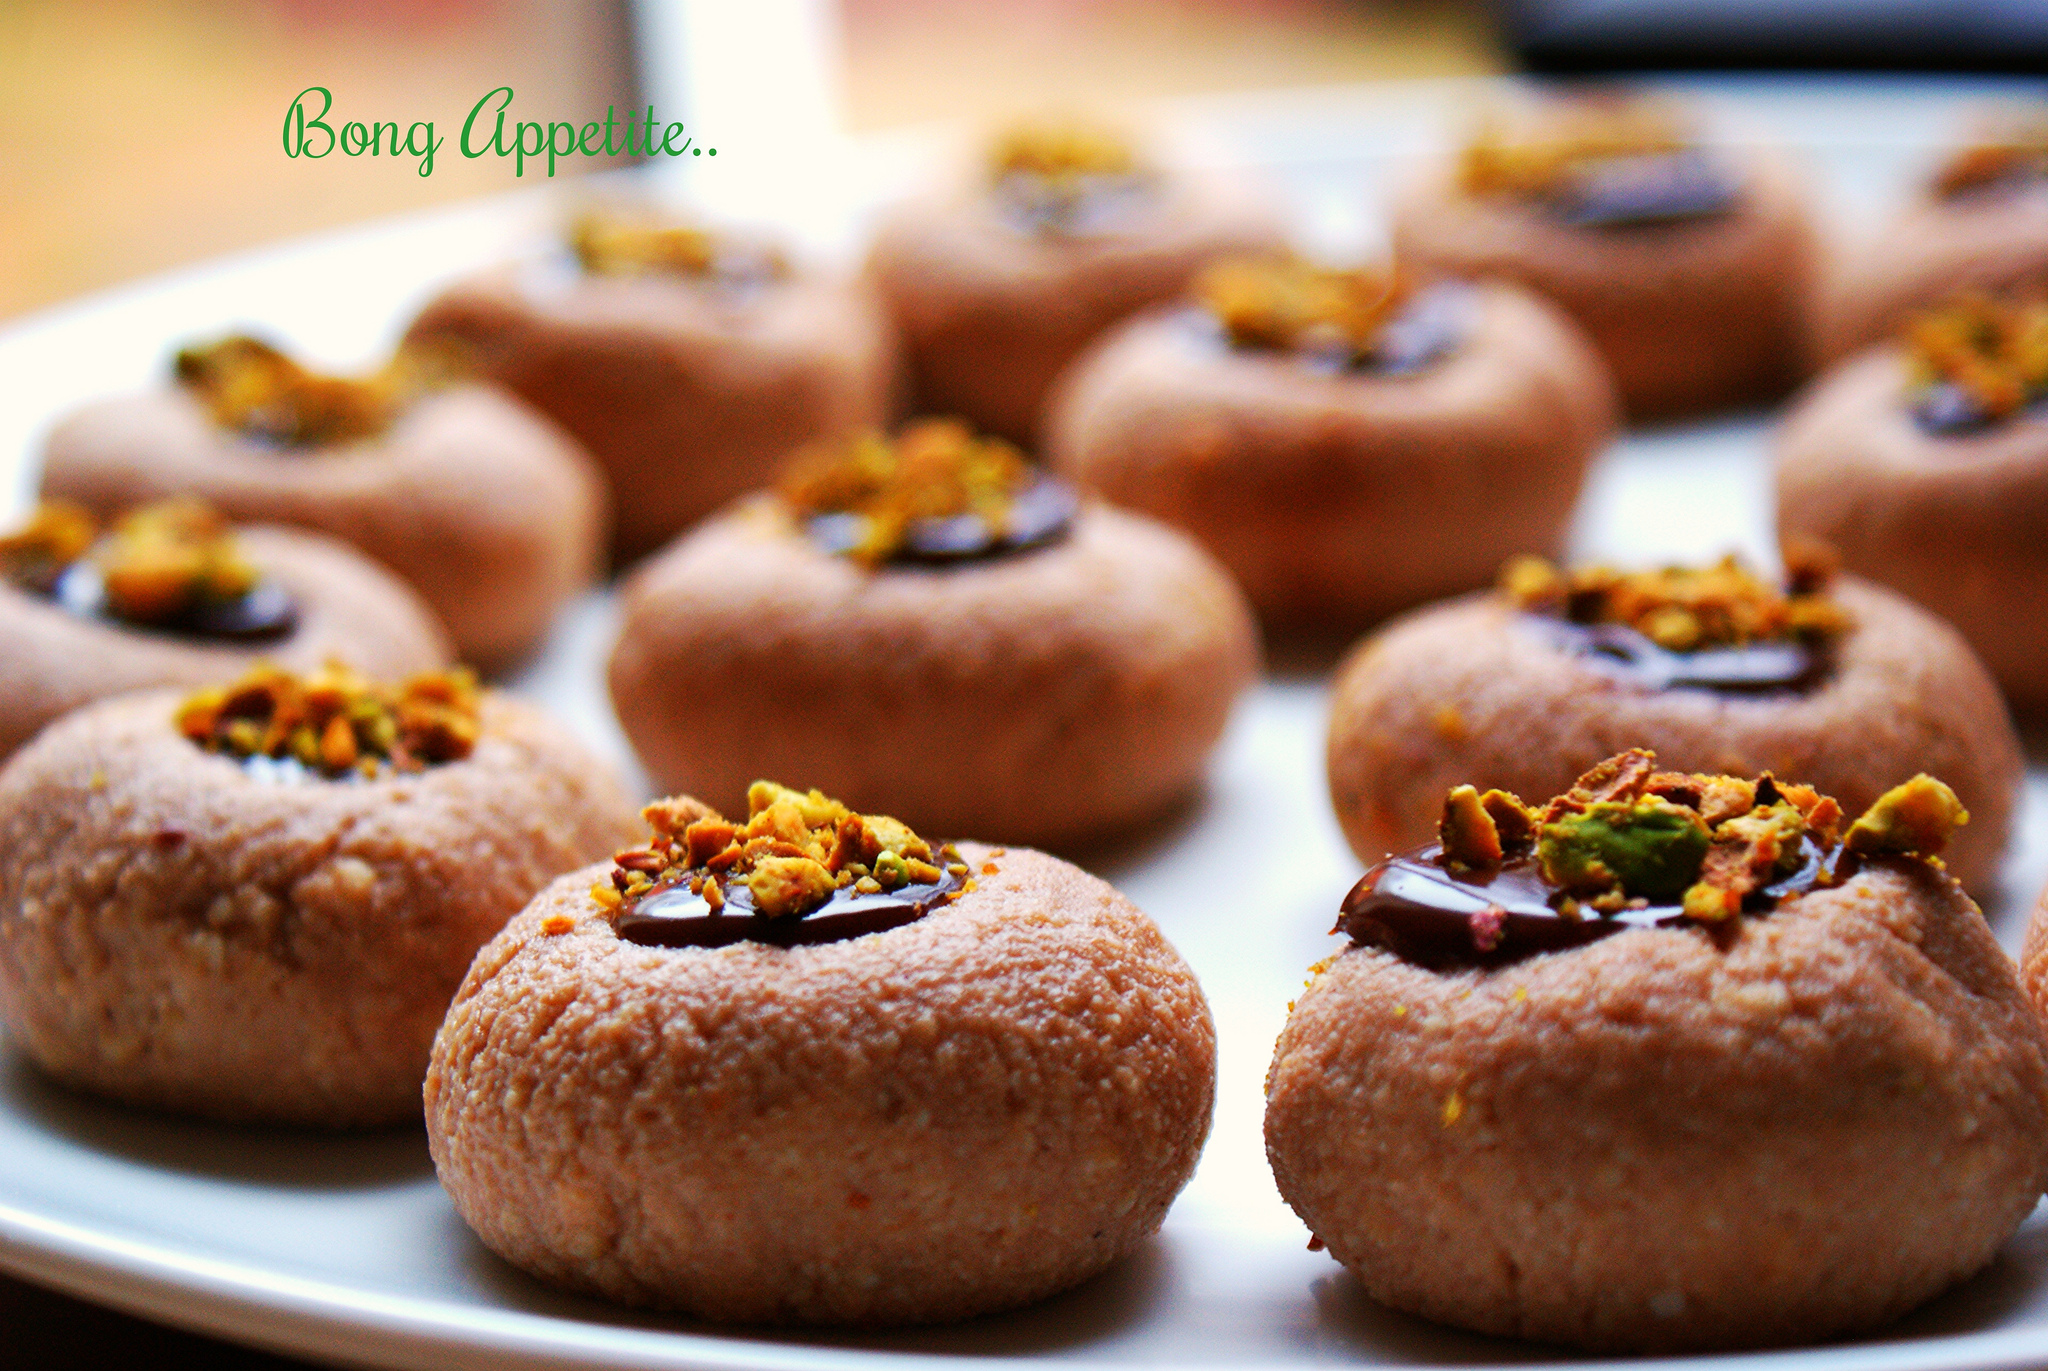
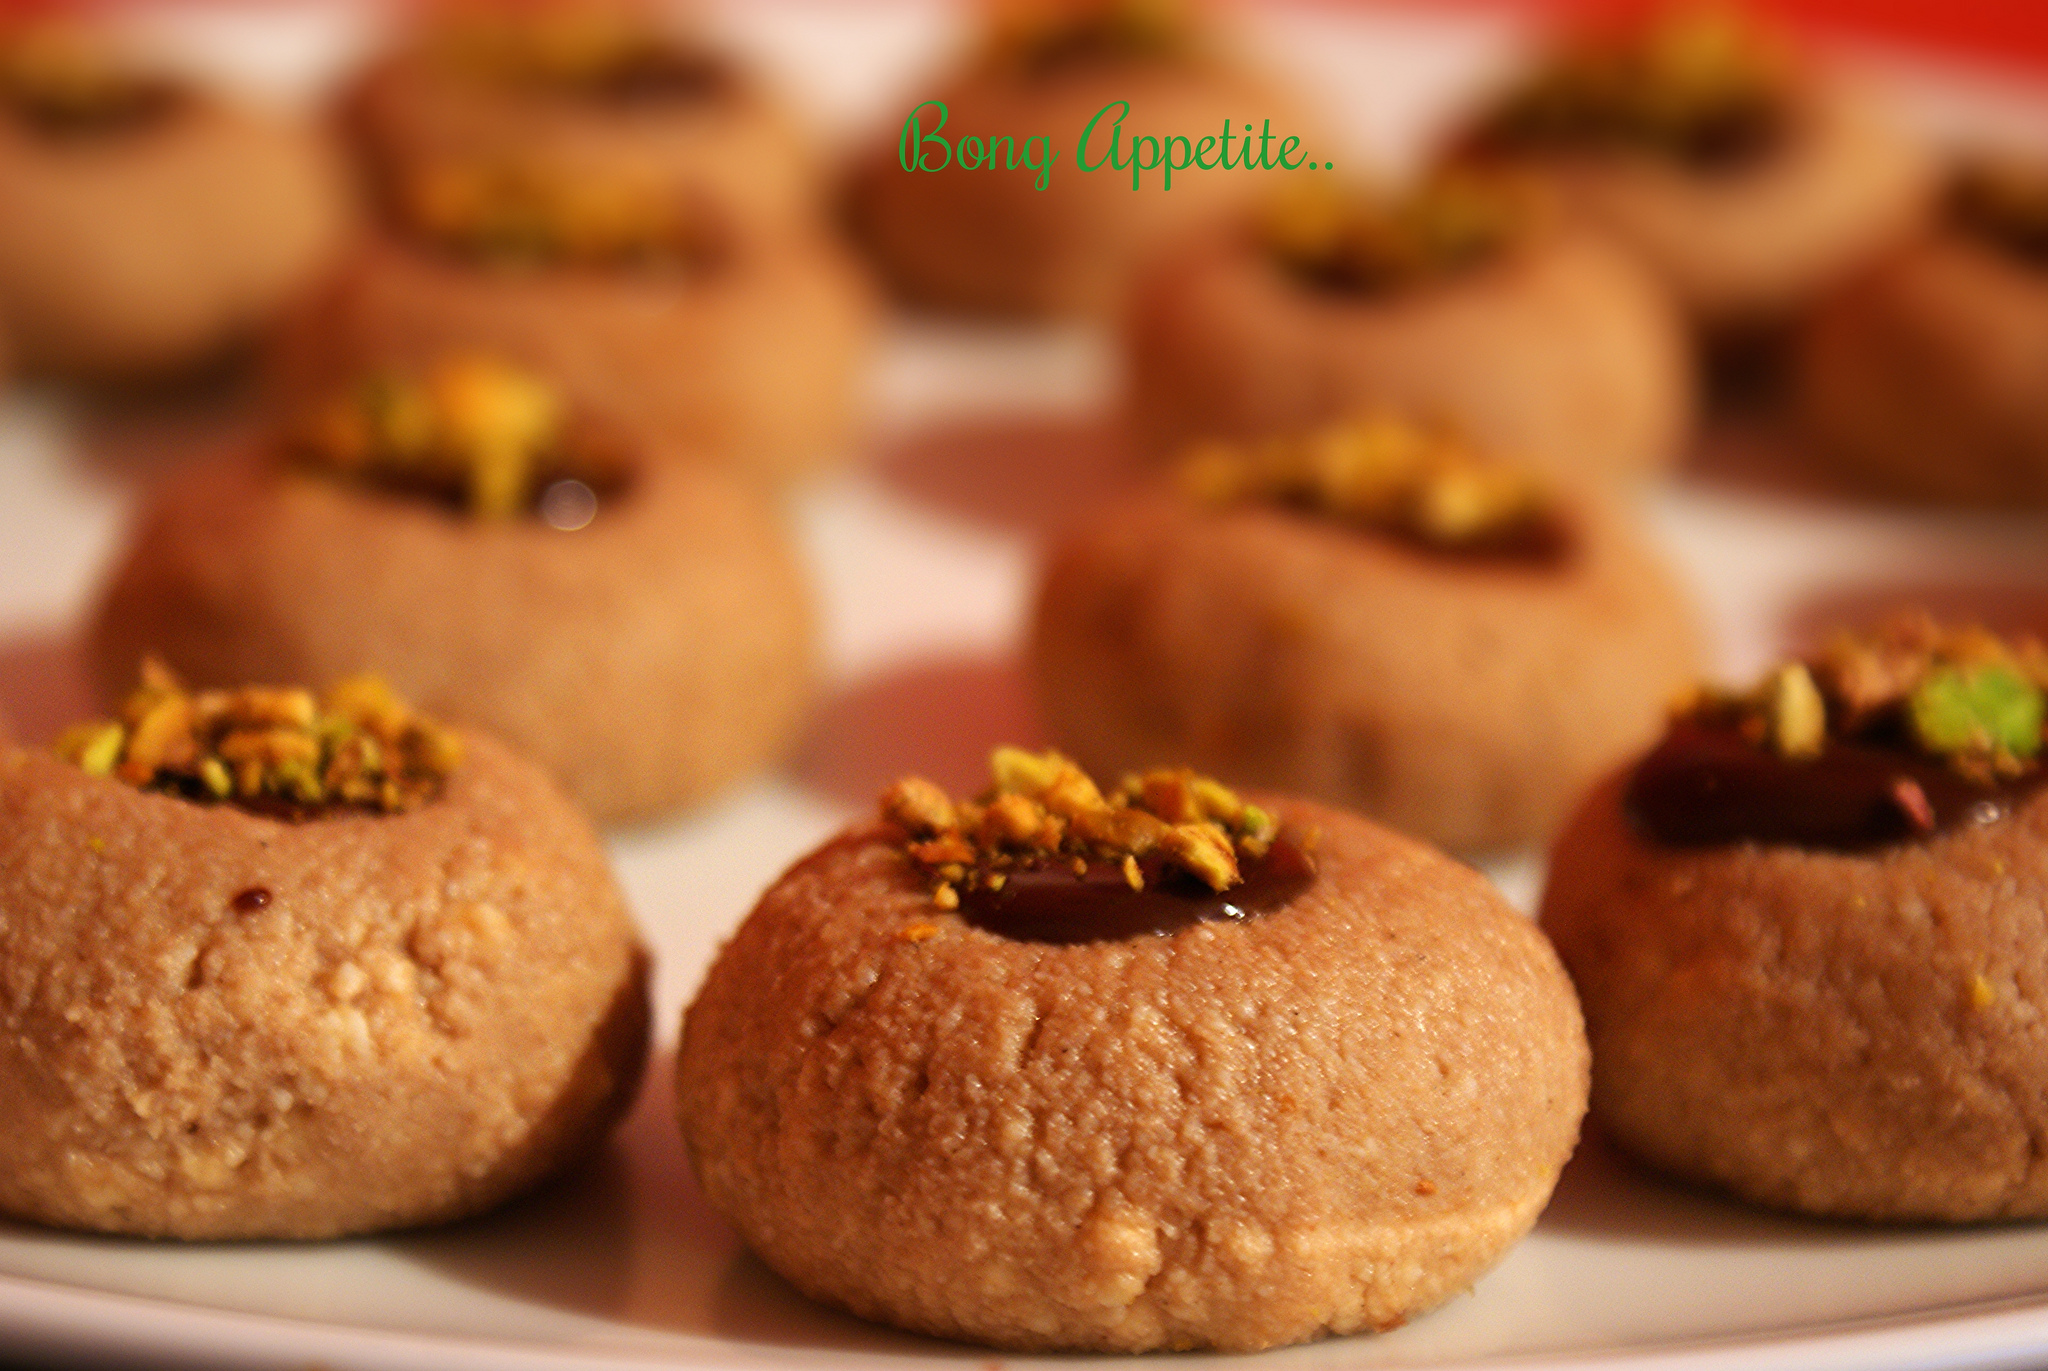
The term mishti doi for me conjures up a memory of a chilled earthen pot filled with a slightly pink colored sweetened yogurt,with a thick layer on top,creamy when spooned out yet well set in the wet earthen pot.With the spoon I would happily make an indent in a corner of the doi in the earthen pot and lick the spoon up with closed eyes.As a kid I was intrigued by the slightly pink colored yogurt and always wondered why we nicknamed it lal doi(red yogurt) and not golapi doi( pink yogurt).May be we are a color-blind lot! The art of making this yogurt, has  hardly ever  crossed the threshold of the Bengali sweatshops and not entered the Bengali kitchen until recently probably because the traditional process of making mishti doi is bit time consuming  than making the white yogurt variety at home.  The traditional preparation of mishti doi calls for caramelizing the full fat milk with sugar or jaggery. The thickened milk is then set to ferment overnight in a pot along with a some fresh yogurt which works as culture for fermenting.Earthen pots are traditionally used  to set this  yogurt as  the pot allows evaporation of  water through it’s pores allowing the yogurt to set in the perfect temperature.Phew ! Thankfully every long cut has got an equal and opposite short cut! Trust me on my take  of the Newtonian law.I prefer shortcuts that gives splendid results without compromising on the quality.And this is how I do my mishti doi .

Stop Press : This yogurt tastes even better,more creamy and decadent a day later !


1


Ingredients :

  • 14oz condensed milk
  • 14oz  evaporated milk  or 1 litre full fat milk reduced to 40 % of it’s original content
  • 14oz Greek yogurt or thick flavorless plain yogurt

Serves : 6


2


Method :

  • Preheat the oven to 180 C
  • Additional step : If using full fat milk instead of  canned evaporated milk ,heat milk in a heavy bottomed pan,stirring continuously till the milk is reduced to almost 40 % of it’s original content(removing 60% of the water content in the milk) . Remove from the heat  and let it cool at room temperature.
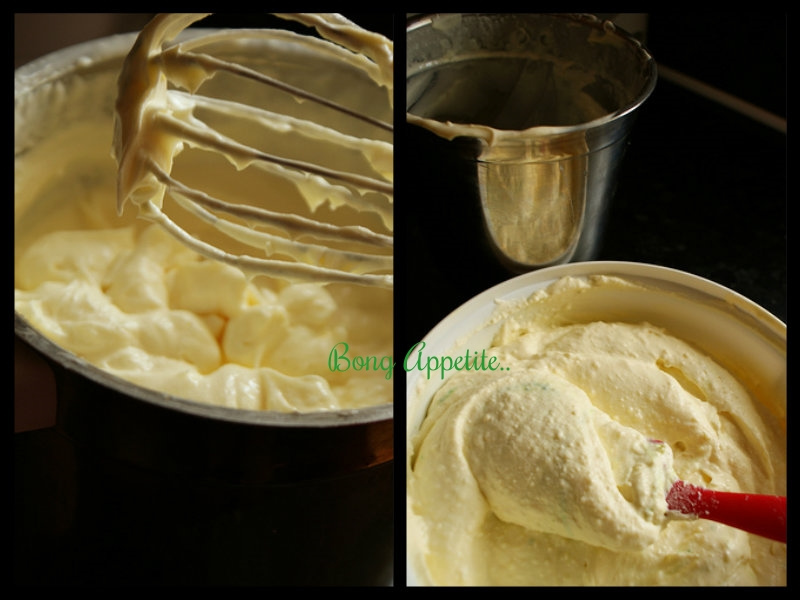
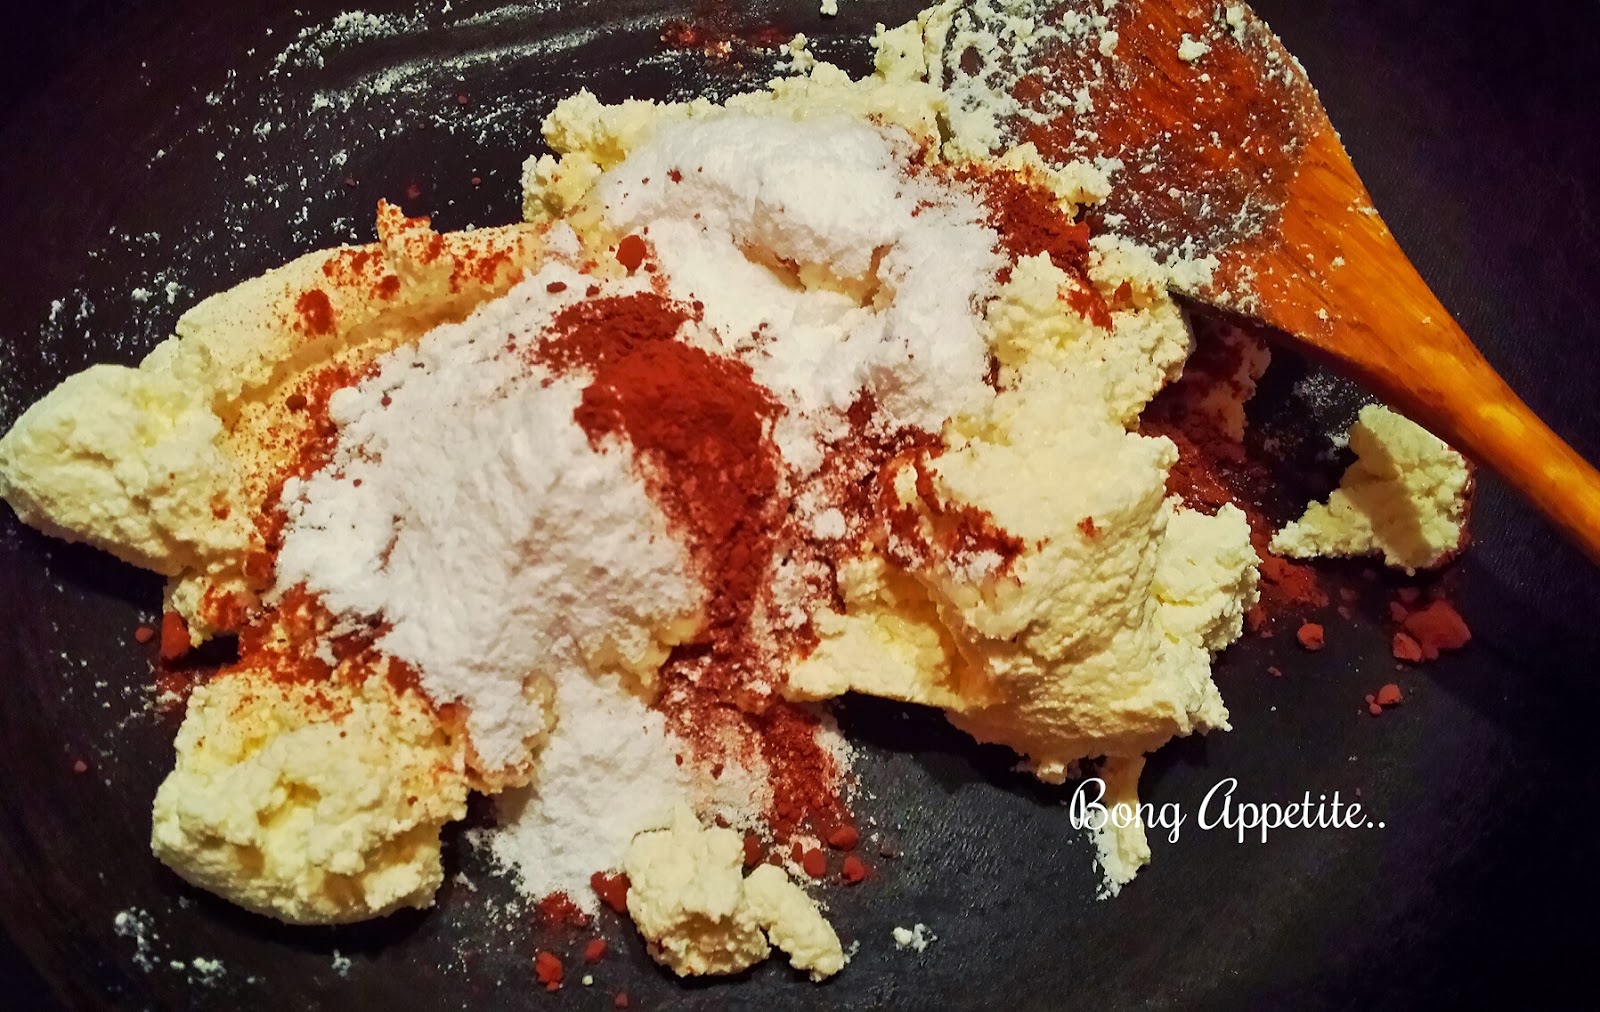
  • In a large container mix the condensed milk,the evaporated milk or the thickened reduced milk and plain yogurt.
  • Whisk the contents of  the mix ,till there is no lump.
  • Pour the mixture in a baking container of your choice.
  • Bake at 180 C for exactly 15 minutes and then turn off the oven.
  • Do not open the heated oven and let the yogurt seat there and cool down slowly for at least 6-7 hours or overnight.
  • Remove the set yogurt from the oven,cover with a cling film or aluminium foil and put it in the fridge.
  • Serve chilled.
  • Enjoy!

6


Yogurt Mousse with Strawberry Marshmallow & Blueberry Compote

1

Marshmallow,strawberry,blueberry and Greek yogurt !! What not to love?And what if they come together to make a gorgeous mousse.Light,fluffy,delectable,an oh! so yummy mousse!!This is the perfect ending to your summer barbecue afternoon lunch spread out.And what  I have not mentioned yet is that it is an easy peasy  dessert.With minimum number of ingredients and 10  minutes of cooking time ,this  can easily be your favorite make ahead dessert for dinner parties.This is my second take on the French favorite dessert.The first attempt being the Egg-less Gondhoraj Lebu Mousse .

2

Ingredients :

For the mousse..

125 gm Greek yogurt or hung curd

65 ml whole milk

A drop of vanilla extract or vanilla essence

80 gm strawberry or vanilla flavored marshmallow

Serves : 2

4

For the blueberry compote..

1 cup fresh blueberries

1/3 cup sugar

1 tablespoon cornstarch

Two teaspoon of lemon juice

3

How to make the mousse.. :

  • Place the marshmallows,whole milk and yogurt in a deep vessel .
  • Heat it gently on slow flame,stirring continuously until the marshmallows melt completely and all the ingredients are well combined.
  • Remove the vessel from fire , as soon as the mixture starts looking like a slightly thick custard.
  • Remember the mixture will thicken further when completely cooled.
  • Cool the mixture at room temperature and transfer to the serving bowls.
  • Cover and chill in the refrigerator for at least 1- 2 hours.
  • Serve it with the blueberry compote or any other summer fruit compote of your choice,just before eating.

no2

How to make  blueberry compote..

  • In a medium pot over low heat whisk together sugar,cornstarch ,lemon juice ,until the sugar melts completely and clumps are removed.
  • Add half a  cup of blueberries and cook for few minutes,until the mixture has slightly thickened with  the blueberries are thoroughly cooked.
  • Add another  1/2 cup of blueberries .
  • Give them a gentle stir,not allowing the second batch of blueberries to break down completely like the first batch.
  • Cool at room temperature, and refrigerate until ready to serve.

no

Related posts :

An ode to the British summer with Petite Strawberry Cheese-cake

1.1

The Great British Summer is here and how! We have been (so far! touch wood!!)blessed with a wonderful summer  this year and we are making most of it,as long as it lasts.British countryside has so much to offer that we are practically hopping around almost every weekend .Fortunately we live in the neck of the wood of one of the most scenic places in UK,called Peak District,so all we need to do is to pack our picnic hampers,and zoom off for some 45 minutes to land up in some lush and  scenic green.And how green and beautiful it is?..well check it out yourself!

1.7

1.9

1.11

1.12

1.10

Talking about summer and summer day outs,how can I not mention about my favorite summer fruit.You guessed it right.I love strawberries,and I love desserts too(as if it’s still not evident from the number of my desserts post!).With not much time to spend in the kitchen (why should I ,when the sun is out?)I decided to make these quick  make-ahead petite strawberry cheesecake desserts to treat myself and my family.

1

Easy- check

Wow presentation- check

Mouthwatering -check

Do you still need reasons to make these beauties?

1.2

Ingredients:

  • Digestive biscuit or your choice of biscuit base -75 gm
  • Butter – 25 gm,melted
  • 250 gm cream cheese,soften
  • 50 gm granulated sugar
  • 1 teaspoon strawberry essence
  • 140 gm plain natural yogurt
  • Strawberries, to decorate

1.4

Method:

  • Melt butter in a pan over low heat.Crush the biscuits in a blender until they resemble bread crumbs.Mix the crumbs and the butter until the mixture is soft and moistened enough.Spoon equal portion of the mixture in 6 shot glasses.Lightly press down and leave to chill in the fridge.
  • While pressing down your biscuit base,apply moderate pressure as excessive pressure can make the base extremely hard to spoon out.
  • Beat the cream cheese, yogurt,strawberry essence and sugar together with a fork till the mixture becomes smooth and creamy.
  • Spoon the cream cheese mixture into the prepared shot glasses.Leave to chill in the fridge for 3-4 hours or until set.
  • Top with a strawberry before serving.


Note : You can replace strawberry with other berries of your choice for this dessert.

1.5

Egg-less Gondhoraj Lebu Mousse

Gondhorajlebu mousse

Gondhoraj lebu,the literal translation of this bengali name for a particular variety of  lime means ”king of aroma”.Indeed this   lime stands true to it’s name.It is one of the best variety of lime in terms of smell, that I have ever come across.The mere mention of this lime when bengalis are in conversation can send paroxysmal of  joy that only someone who have smelled this lime will know.Hot and humid West Bengal summers would provide the perfect setting to indulge in the pure joy of having rice,patla mushoor dal (watery lentil soup)with  a bout of gondhoraj lebu squeezed in.Some time my dimma (grandmother) would  make daal with the leaf of gondhoraj lebu immersed in it ,to make it  aromatic and refreshing.This lime is generally bright  dark green,with a tough and hard outer surface  and much larger in  size than the ordinary key limes.The pale inner segment of the lime yields scanty juice but is always marked by overpowering smell that will compellingly bring one to the dinner table once it’s served with the food. But this fragrant lemon kind of disappeared(until recently) from  my life once I stepped out of Bengal.Gondhoraj lebu  is pretty much region specific and find it’s firm footing  in Bangladesh and West Bengal in India.

gondhoraj

gondhoraj_bong appetite

The scientific name of this lime is  said to be Citrus Limonia .This Rangpur  lime variety  got it’s name from a place called Rangpur in Bangladesh,where it is grown profusely.It is a cross between mandarin and lime,not very juicy in nature,but orgasmic in fragrance for sure.

bong appetite_limes

The distant cousins of our very own Gondhoraj  lebu can be found in South China as Canton Lemon , in Japan as  Hime  Lemon,as Limao Cravo in Brazil  or Mandarin Lime in the United States.These are all different variety of the  same family of Rangpur limes.

mousse_gondhoraj

My search for the ever elusive Gondhoraj lebu ,however,finally ended when I came across it in a Bangladeshi grocery shop in Birmingham,England.My joy knew no bound the moment I saw them.I grabbed a few and headed straight to the counter.We had our Gondhoraj happiness with lime wedges cut,squeezed  and smell inhaled with the regular  mushoor daal and bhaat(rice) .That  pacified our gondhoraj craving souls to a great extent.But some of them were still sitting pretty in the fridge side-cabinet.I decided to do some fusion dessert with my favorite lime variety. Inspirations were in plenty.The other popular aromatic limes like the Kaffir  lime or the thai lime  often used to make desserts like ice cream,white cake or the Carribean Key lime   known  to make refreshing cheesecakes were my point of reference.I decided to make some egg-less mousse with the signature fragrance of  Gondhoraj lebu.Mousse is a French food that incorporates air bubbles to give it a smooth and light texture.Contrary to popular belief it can be consumed as dessert as well as in its savory form depending on the choice of ingredients.From the colder spring we are gradually progressing to warmer summer here in UK ,while the whole of Bengal is all ready under the spell of summer sun.Just the perfect time to make and lap up this yummy cool dessert.

gondhoraj lebu

Ingredients :

  • Double cream : 600 ml
  • Condensed milk : 395 gm
  • Paneer or home made chhena : 250 -275 gm
  • Gondhoraj Lebu juice : 1-2 tablespoon
  • Gondhoraj lebu zest : 1 teaspoon

Recipe  :

Pour the double cream and condensed milk in a clear and chilled container. Whip the double cream and condensed milk together with a hand blender or an electric beater till it forms  firm peaks .Keep aside.Mash the paneer or chhena well to paste consistency ideally with the mixer grinder.Make sure the paste is smooth  enough without any hint of lump(mine was not smooth enough to my expectation ,hence the warning!),otherwise the mousse will be little grainy in texture.Fold in the whipped double cream and condensed milk into the paneer or chhena paste.

Firm peaks of the whipped cream  and folding in the condensed milk-cream mix with the paneer

Firm peaks of the whipped cream and folding in the condensed milk-cream mix with the paneer

Add the gondhoraj lebu juice at this stage.Give a gentle mix.Spoon the mousse mixture into the chilled serving dishes and top it with gondhoraj  lebu  zest.Scrap the lemon zest with a grater or a zester.Make sure you remove only the bright green zest and not the white pith ,which is bitter in taste.Seal the serving dishes with cling fling and refrigerate for at least 4-5 hours or overnight.Serve the Gondhoraj Lebu Mousse chilled.

before after_gondhoraj  lebu  mousse

Note For this recipe you can use the store bought paneer  or make your own chhena at home,what ever suits you.Only make sure to drain as much moisture as possible of which ever option you are opting.

Chocolate Shondesh

Chocolate Shondesh

Chocolate Shondesh

Quite true to my Bengali genes I have got a sweet tooth.Give me any thing sweet  be it Bengal’s own roshogolla,ledikini, kheer kodombo , mishti doi  or anything sweet which is not so Bengali  like a fudge cake,cookie dough ice cream,chocolate brownie or a caramel flan – I am ready to dig in .Since the past 4 years of my stay in England I have had enough chance to try different forms of  western dessert while the frequent trips back to India (Kolkata to be specific) were just not sufficient enough to sooth my Bengali mishti craving.True to the saying ”necessity is the mother of invention” one day I finally gave in to my Bengali sweet craving and decided to try my hand at making a Bengali sweet at home.While surfing through  videos on YouTube I came across this video  and the idea of making a fusion chocolate shondesh  dawned upon me!

chocolate shondesh

This fusion sweet is very dear to my heart, perfectly unites the best possible combination of chocolate from the west and mishti from the east,quite like us those who live miles away from  the home land, soaking in the foreign culture yet cant give away their traditional root.


Recipe for Chocolate Shondesh


Ingredients


For the making of Shondesh

Full fat milk : 3 litre

Khoya/Milk Solids : 1/2 cup (optional)

Sugar : 1 to 1 and 1/2 cup

Lemon juice : 4 lemon

Cocoa Powder : 4 heaped tablespoon


For garnishing the Shondesh

Chocolate bar- 150 gm

Double Cream- 100 ml

Sugar : 1/4 cup

Choice of nuts : Pistachio/Cashew

 chocolate shondesh

Method of making Shondesh


1)Boil the milk in a heavy bottomed pan at medium heat stirring occasionally .When the milk starts boiling  add the lemon juice and increase the flame little bit to enhance coagulation.As soon as the milk starts to curdle and whey is separated from the curd turn of the heat,otherwise the chenna(paneer)will become stiff.Drain the whey from the milk fat by using a strainer lined with a cheesecloth or muslin cloth for about 10 minutes.


2)Once the chenna is drained place it in a clean and dry surface. With the heel of the palm knead it well till it rolls into a smooth soft dough.

chocolate shondesh

Kneading the 'chenna' into  a smooth and soft dough

Kneading the ‘chenna’ into a smooth and soft dough

3)Put the chenna dough in a heavy bottomed flat plan along with sugar, khoya/milk solids(if using) and cocoa powder.Keep stirring it continuously to remove the raw taste of chenna  for about 5-6 minutes at a very low flame(some time putting of the flame in between if required) to avoid burning of the mixture.If you want to make a ‘norom pak'(softer version)  shondesh then don’t keep it on flame for a very long time.

chocolate shondesh

 chocolate shondesh

4)Take the mix, of the pan and mould them or give desired shaped when still little warm.

chocolate shondesh

5) For making the garnishing,  in a double boiler take the cream , chocolate bar by breaking it into small chunks and sugar,simmering slowly while stirring continuously .Once the chocolate has melted,spoon the  hot chocolate ganache  in the centre of the shondesh by making a small   well with the tip of your finger.Dust it with  your choice of crushed nuts.

chocolate shondesh

chocolate shondesh

You can refrigerate this in an  airtight box,however, preferably serve this at room temperature. Shondesh tastes best when it is served fresh or after  being refrigerated for just a few hours.

chocolate shondesh

chocolate shondesh

Note :


  • Double boiler– A double boiler can be made by placing a bowl on top of a pot containing simmering water. In this case double boiler is used to avoid burning of the chocolate in direct   contact with heat.
  • Garnishing can be done simply by drizzling the chocolate ganache on top of the shondesh or by          sprinkling  chocolate sprinklers or cocoa powder or drinking chocolate.
  • Adding Khoya or milk solids to this shondesh only adds to the taste,however, it is not a compulsory     ingredient.
  • This recipe will make about 24 shondesh
  • Bong Appetite’s tips : The best way to enjoy this shondesh is to serve it at room temperature or slightly chilled with the chocolate ganache bit lukewarm and done just before serving

Chocolate Fudge Cake with Strawberry and Twix : The making of a birthday cake

CAKE

Whether it’s the 1st birthday  or a surprise 30th birthday  or a 100 year celebration, birthday cakes are as special as the birthdays themselves. Ain’t they? Birthdays for me are sheer nostalgia of home made fruit cakes specially baked by Maa with lots of love.I would wait year round for this special day to smell and taste the richness and goodness of home baked cakes.There were not many bakery shops back then in Kolkata and not many catering custom made cakes ,so Maa was the only one who I would look up-to on my birthdays for cakes.I would be her little assistant helping her making the cake batter or keeping an eye on the cake from outside the glass door of the cake oven.Helping her doing the cake was so much fun.Little did I know one day this cake apprenticeship with mom will inspire me to bake birthday cakes myself.

It was my husband’s birthday,been 4  year into the marriage I have been doing the baking ritual every year on his birthdays or shall I say growing with my baking abilities on the occasion of his birthdays?!! I have planned an impromptu surprise party; there was so much to do like inviting guests,arranging things, doing the groceries ,baking a cake -all that secretly! Quite a tough task at hand with only 5 days to his birthday.So I decided to ease out on the cake.The plan was to make a simple chocolate cake with a fudge ganache and easy but interesting decoration to go with.I  chalked out the idea and look of the cake that I would like to make, and made a quick list of ingredients to buy.Once the ingredients were at my disposal making the birthday cake was a cakewalk,literally !

And here comes the confession : I am no pro at this,just learning my way through lots of trial and error- the art of baking.But honestly I feel baking can be therapeutic.It’s like a magic to see a batter of cocoa powder,sugar,plain flour to transform slowly into a moist  fluffy chocolate cake.It’s like the caterpillar to butterfly  transformation story for me.

Recipe for Chocolate Fudge Cake with Strawberry and Twix 

Ingredients


For the Cake

225 g plain flour/self raising flour

350 g caster sugar

85 g cocoa powder

1 tsp baking powder

1/2 tsp salt

3 free range eggs

250 ml milk

125 ml vegetable oil/sunflower oil

2 tsp vanilla extract/ vanilla essence

250 ml boiling water

 For the chocolate fudge icing

400 g blocks  of milk chocolate,chopped

2/3 cup thickened cream/double cream

1/2 cup caster sugar or to taste

3-4 tbsp milk (if required)


For decoration of the cake

200 g strawberries, halved

A few packet of Twix or KitKat

A ribbon of your choice

CAKE


Preparation  of the Chocolate Cake


1.Preheat the oven to 180 C/350 F

2.Grease a cake tin of 20 cm/8 inch

3.Sift the cake flour, cocoa powder ,sugar in a large bowl ensuring that there is no lump in the batter.

4.Add the baking powder and salt to the mix.Give a dry whisk with the hand blender to mix all the dry ingredients.

5.Start adding all the wet ingredients (except boiling water) one by one: eggs,milk,oil and vanilla essence or extract.

6.Using an electric beater or a hand blender mix the batter well so that the ingredients are well combined.

7.Add the boiling water a little at a time,blending well so that the batter is smooth and liquidly.

8.Pour the mixture in the greased cake tin.

9.Bake at 180C for about 40 mins or until the top is firm to touch or skewer inserted to the centre of the cake comes out clean.

10.Remove the cake from the oven and let it cool for 10 mins.

11.Use a spatula or a blunt knife to loosen the cake from the side and base.

12.Cool the cake in the wire wrack completely at least for 2-3 hour before applying the fudge icing.

CAKE


Preparation of the fudge icing


1.Add 1″ of water in a medium saucepan or pot and bring to gentle simmer(you can speed up the process by adding 1 tsp of salt to the water)

2.Place heat proof bowl with an handle attached on top the pot when the water has reached the boiling point.Make sure that the bottom of the pot is not touching the boiling water.The steam of the water will gradually heat up the pot.

3.Add the chopped chocolate pieces to the pot and stir occassionaly until smooth and melted.Add the cream at this point mixing throughly.Finally add the sugar to the mix and let it melt.

4.Keep little milk handy,in case if the fudge icing becomes very thick,adding milk will make it smoother and easier to apply on the cake.

CAKE

Decorating the Chocolate Cake

1.You can keep the fudge icing in the fridge for half an hour or so to thicken it a bit.It should be thick enough to hold the Twix or Kit-kat sticks when placed against the cake wall.

2.Spread the fudge icing or ganache with the back of a flat spatula generously on top and all around the cake so that it forms a thick coating.

CAKE


3.Then stick the Twix or Kit-Kat sticks,one by one against the fudge coating.

4. Top the cake with halved strawberries.

5.Drizzle some of the leftover fudge icing on the strawberries if you wish to.

6.Don’t forget to tie a ribbon round the cake to make it look like the perfect gift ever 🙂

Serving suggestion

When serving individual portions warm the cake pieces with a Twix  or KitKat stick for about 30 seconds in the microwave and serve with a scoop of your favourite vanilla icecream.

CAKE